- Step 1:
Go to Theme – Online Store and click on Edit Code.

- Step 2:
Click on Add New Section under “sections” folder.

Step 3: Choose liquid, name it “custom-apps”.

Step 4: Copy paste following code and click on SAVE
<div class="{% if section.settings.include_margins %}page-width{% endif %}">
  {%- for block in section.blocks -%}
    {% render block %}
  {%- endfor -%}
</div>

{% schema %}
{
  "name": "Custom Apps",
  "tag": "section",
  "class": "section",
  "blocks": [
    {
      "type": "@app"
    }
  ],
  "presets": [
    {
      "name": "Custom Apps"
    }
  ]
}
{% endschema %}
Step 5: Click on Add a new template under “templates” folder.

Step 6: Click on Add a new template under “templates” folder.
Step 7: Select template type as page, choose JSON and name it event or calendar etc. (page.event.json)

Step 8: Copy paste following code inside page.event.json you just created.
{
  "sections": {
    "apps": {
      "type": "custom-apps",
      "settings": {
      }
    }
  },
  "order": [
    "apps"
  ]
}
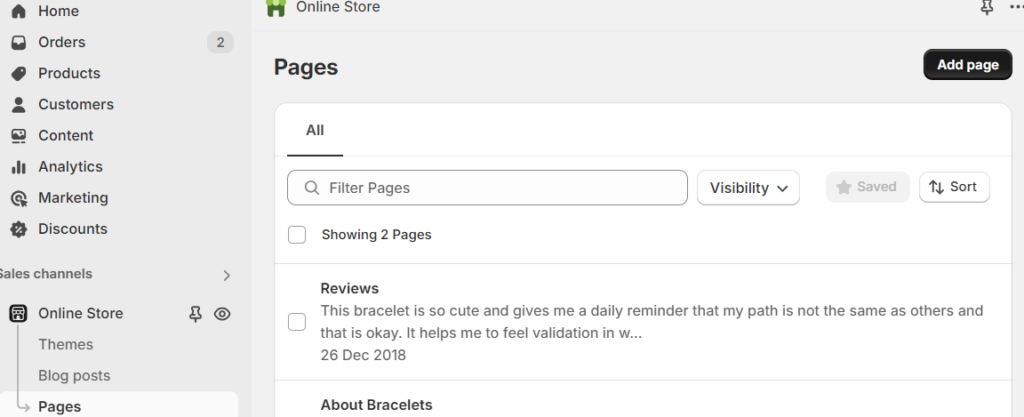
Step 9: Go to Pages and click on Add Page

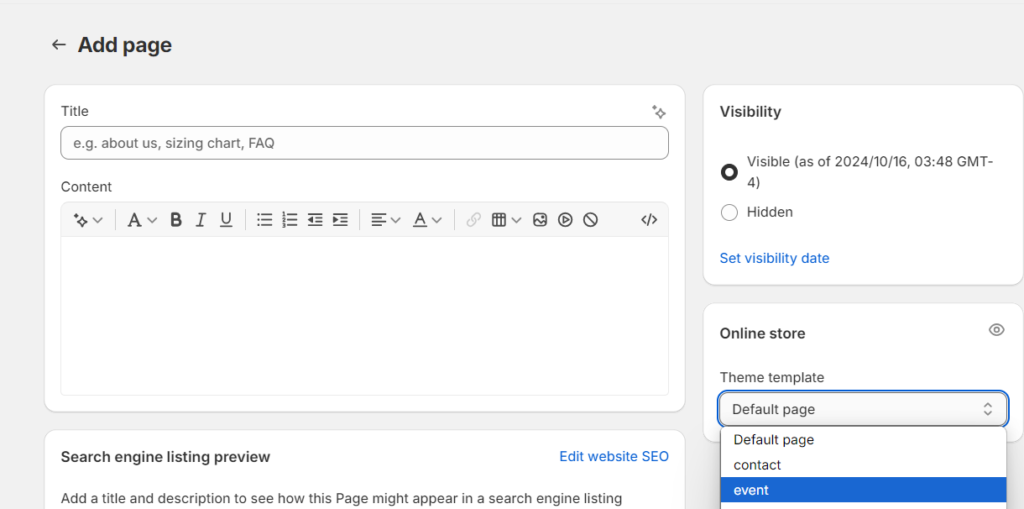
Step 10: Choose event from theme templates that you just created.

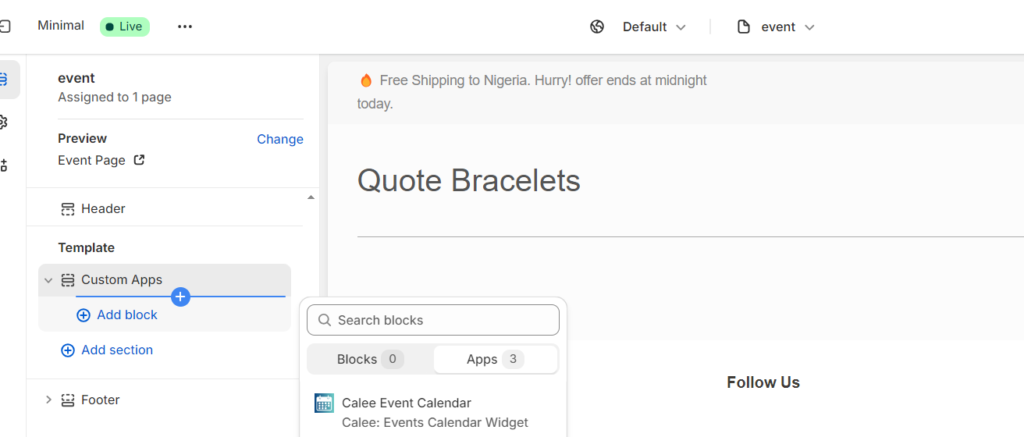
Step 11: Go to theme customize, go to the new page you created, click on add block and choose Calee Calendar Widget.


